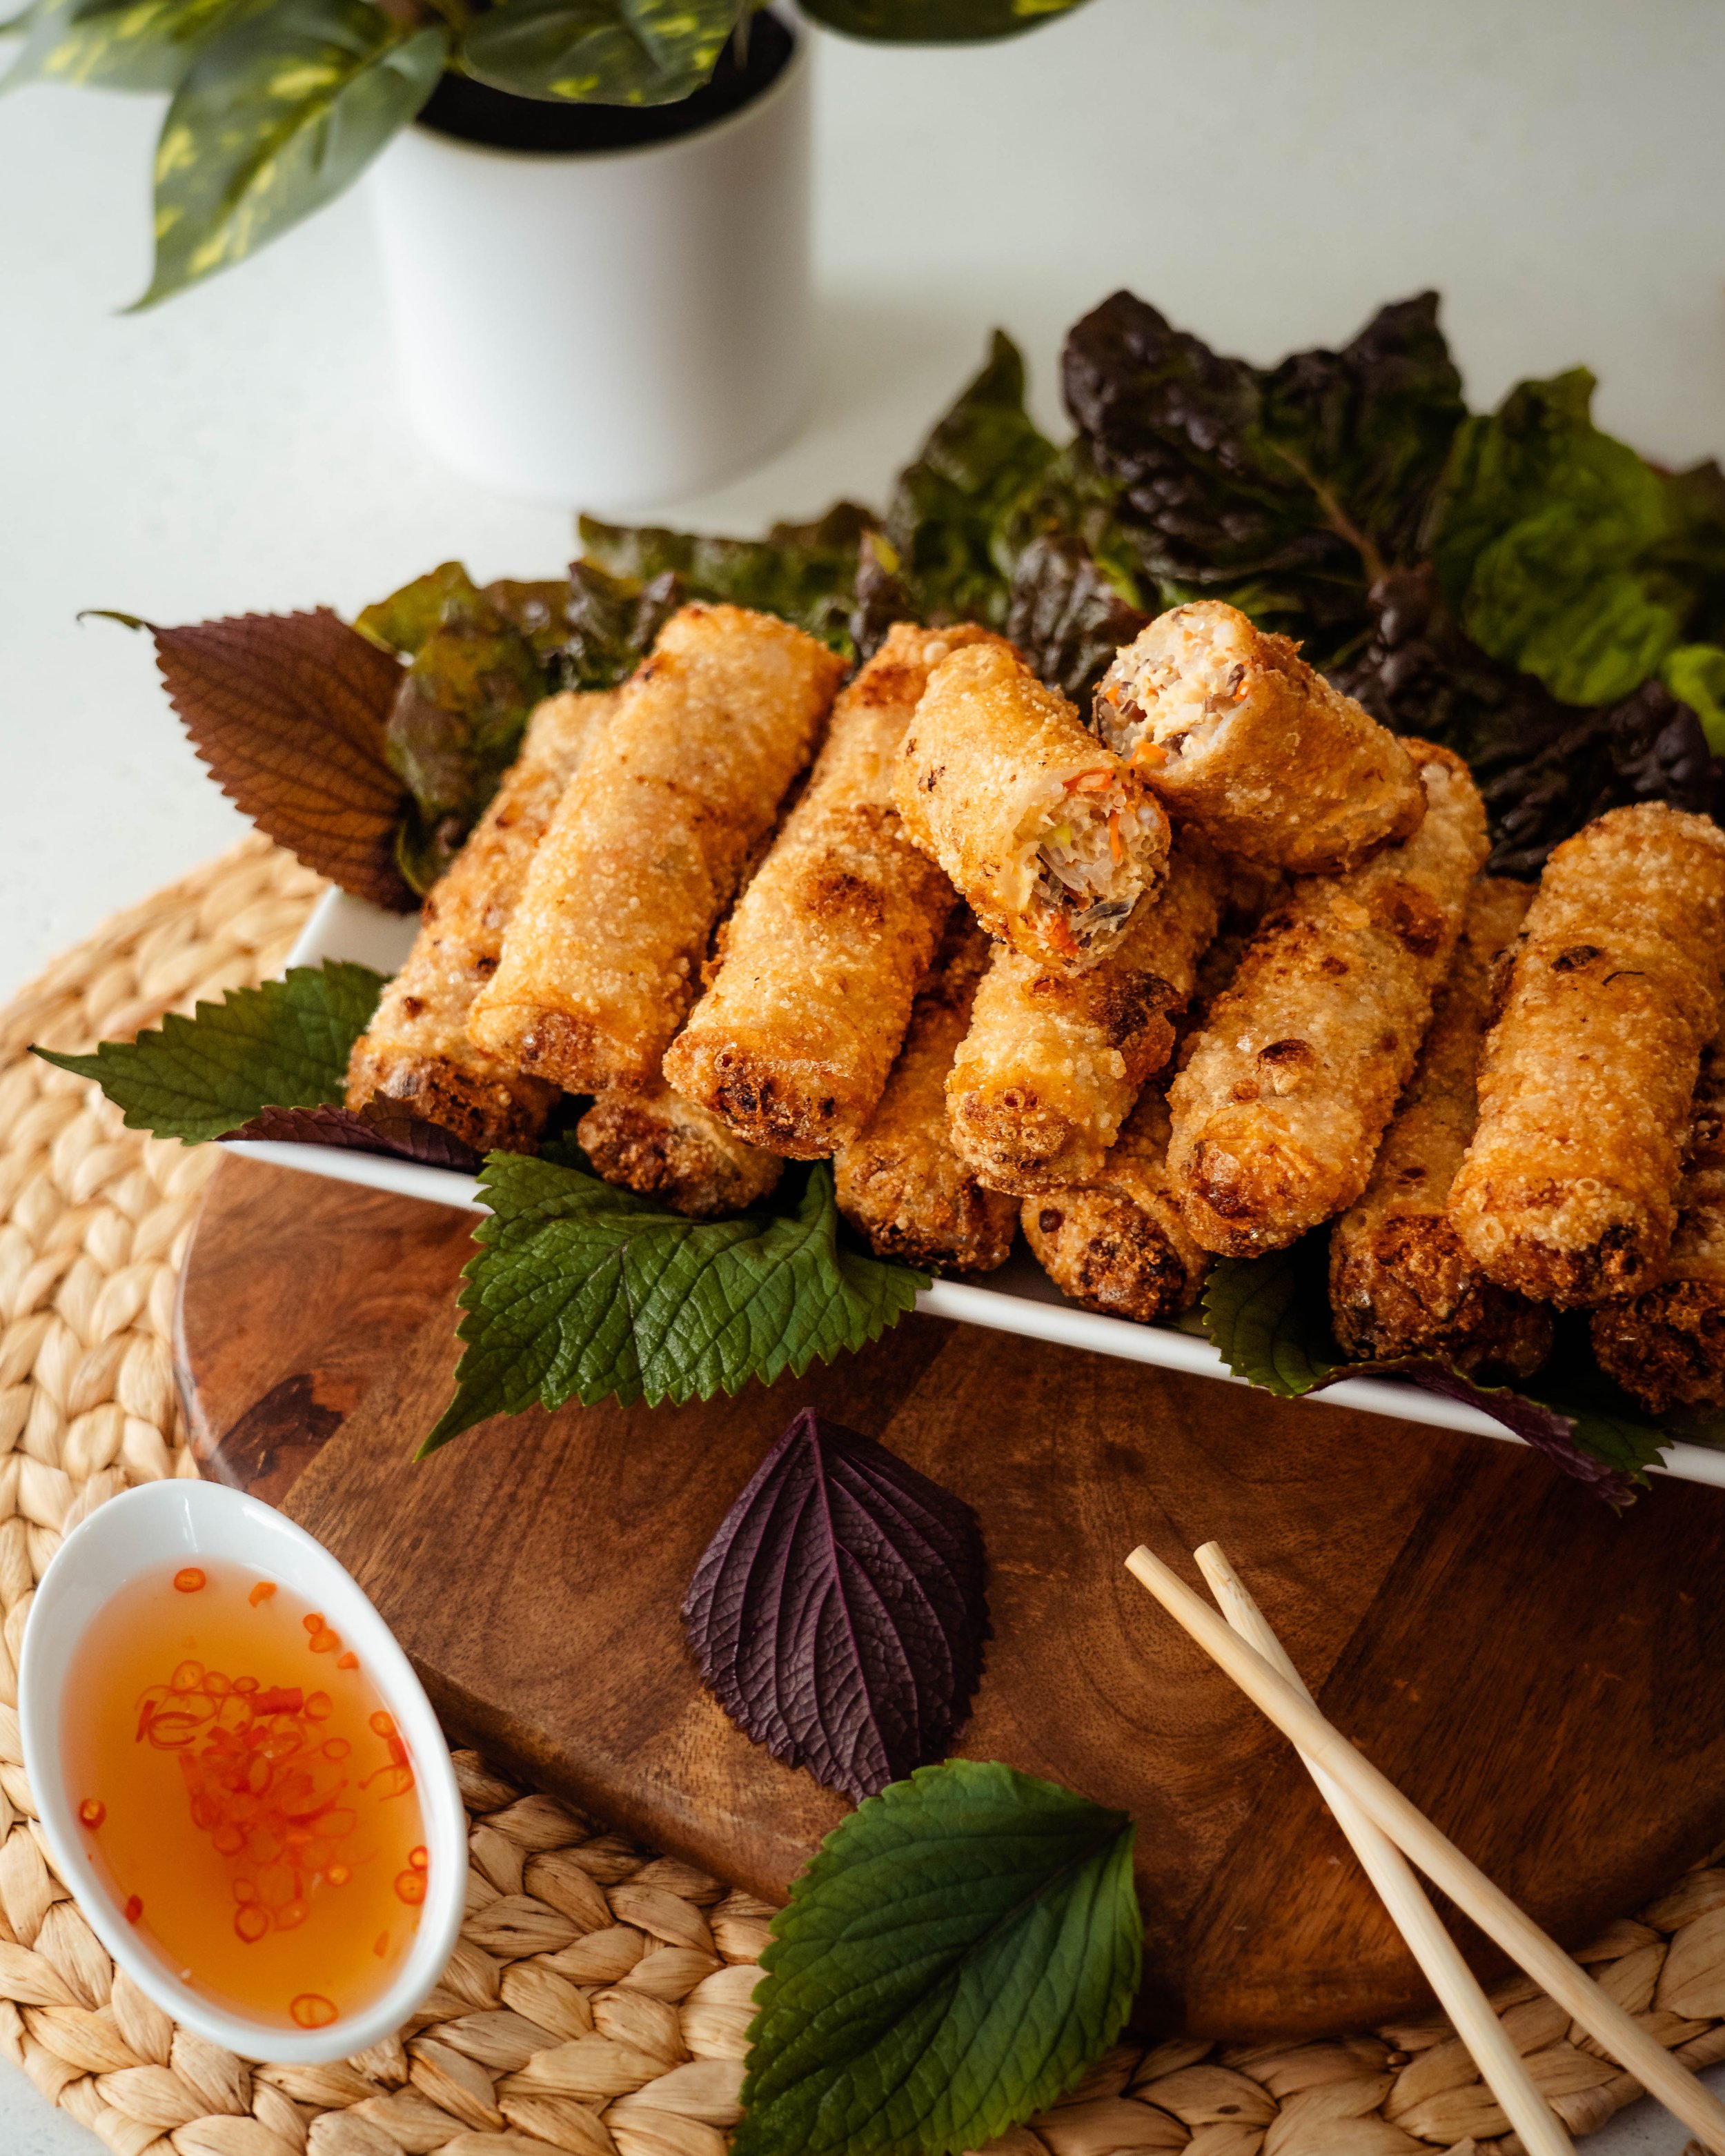
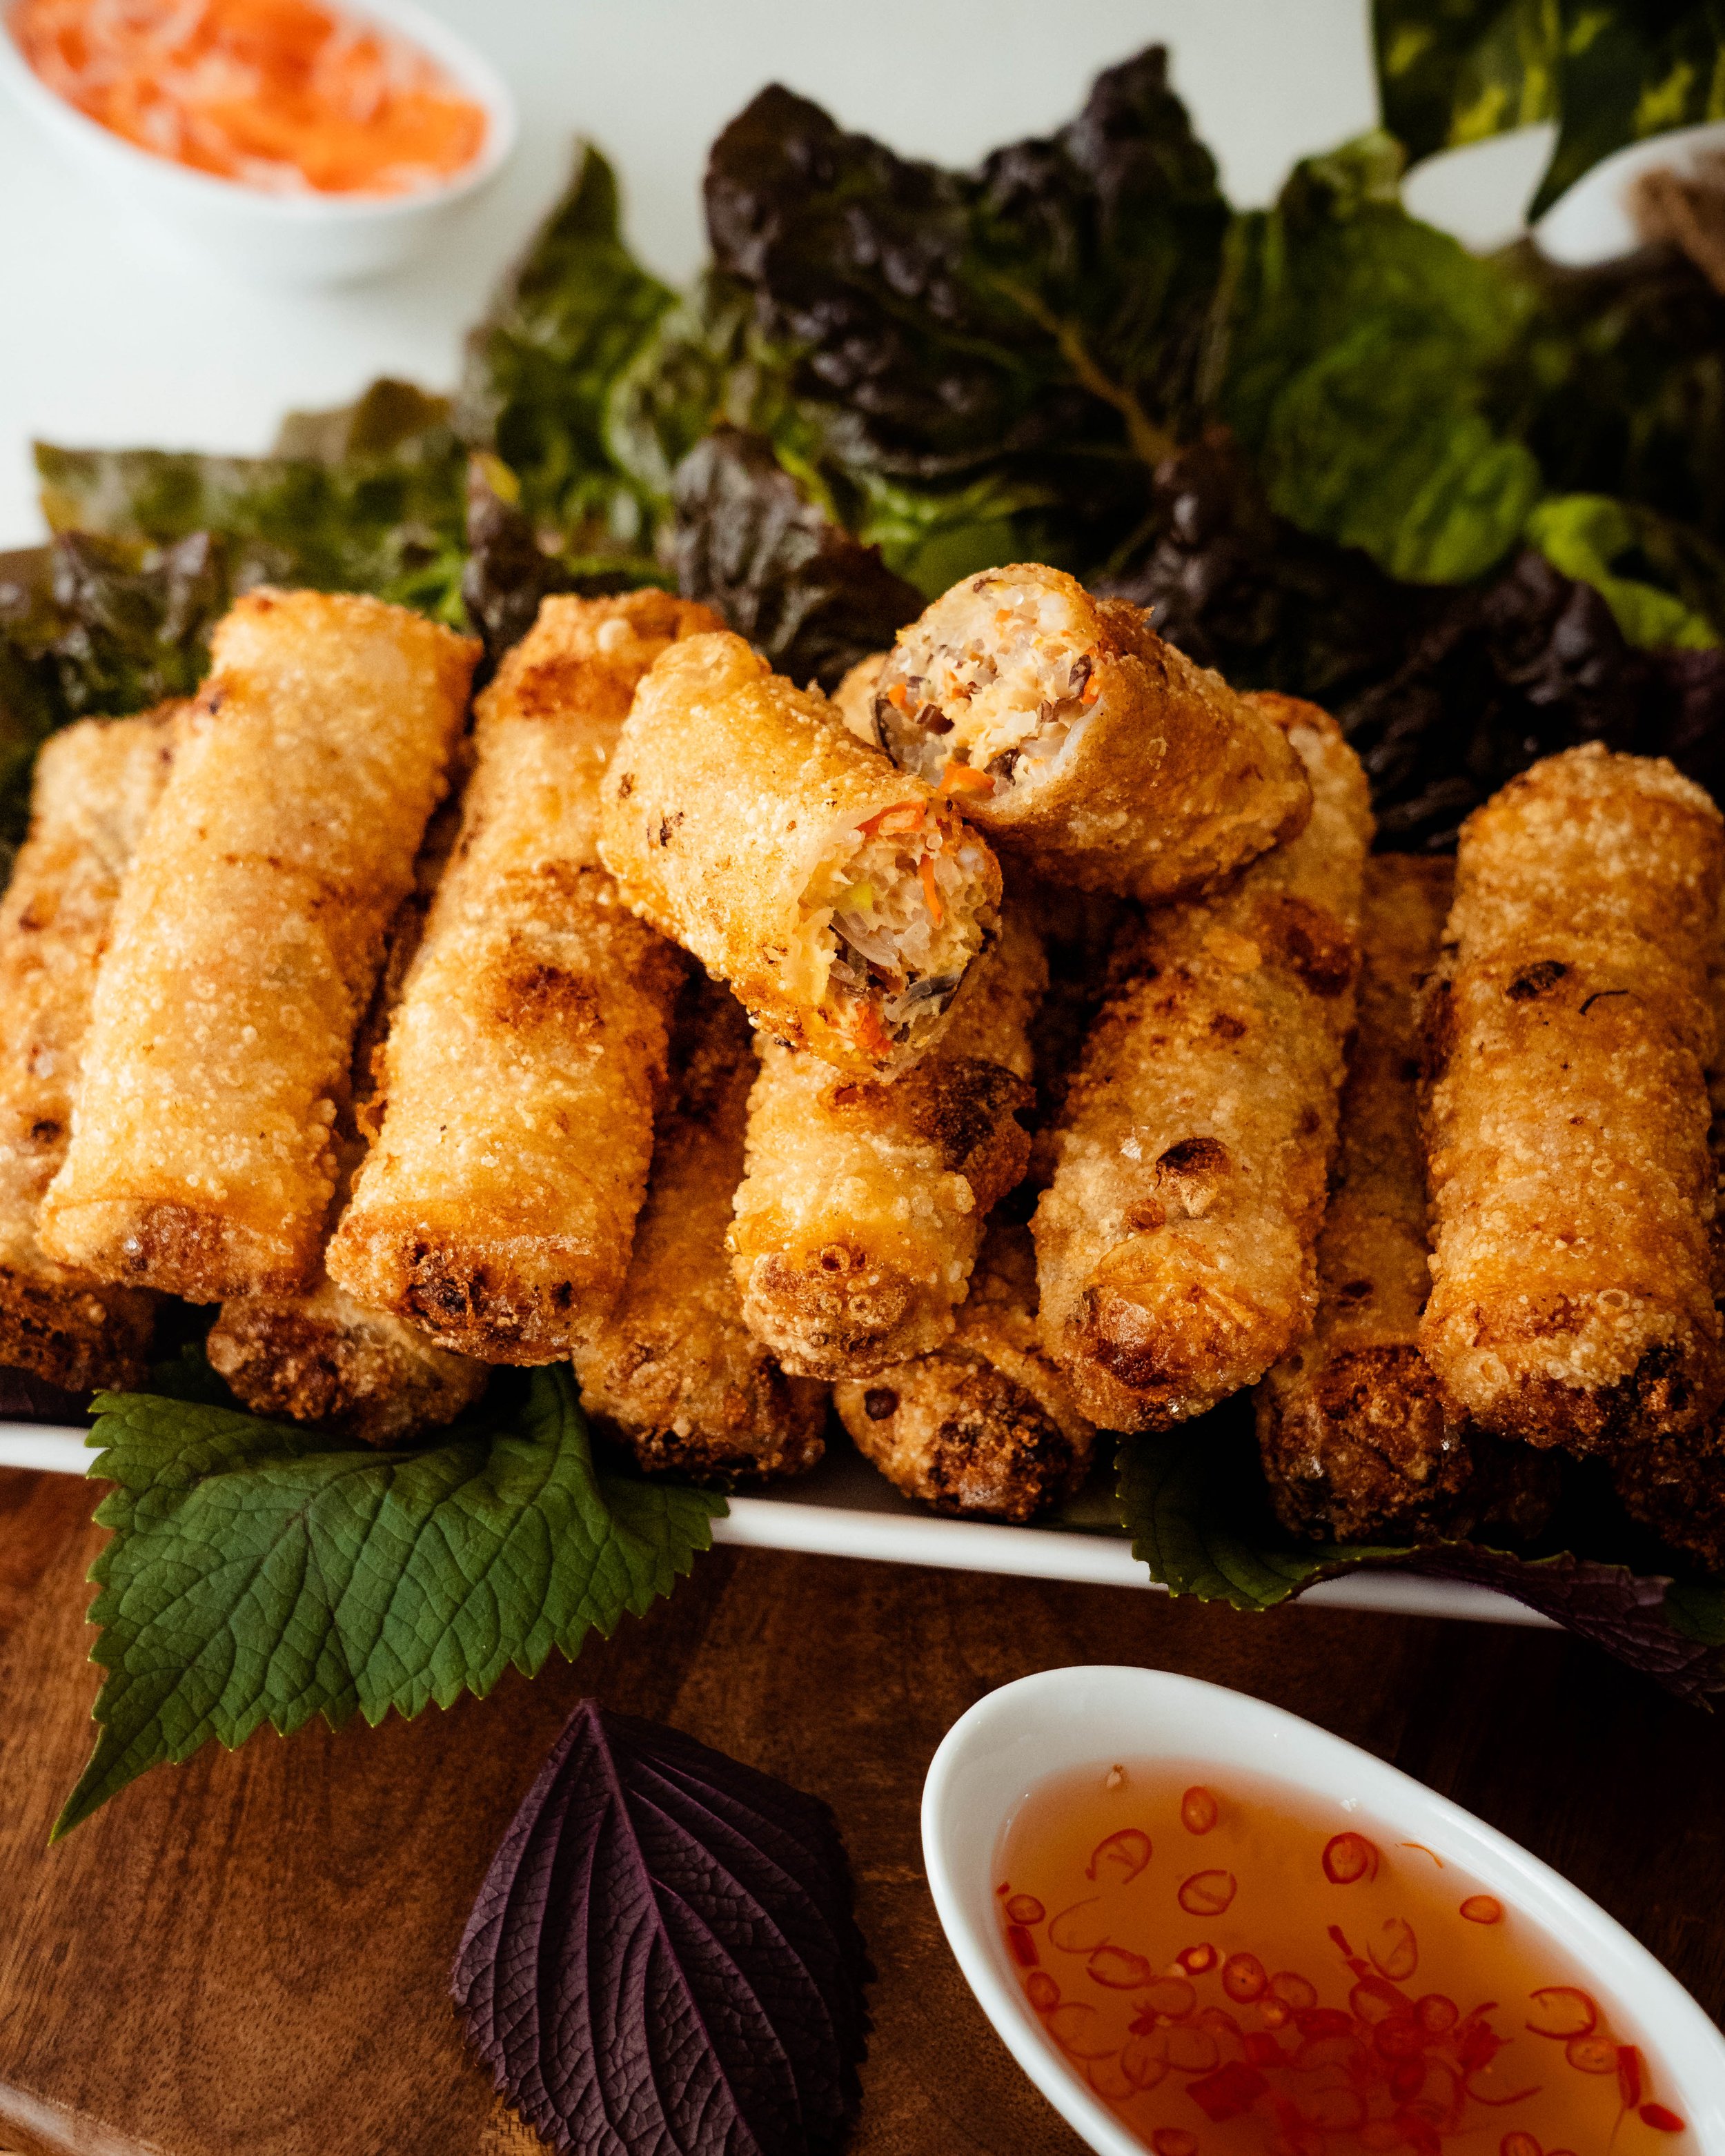
Chả Giò

Vietnamese Fried Spring Rolls, also known as Chả Giò in the south or Nem Rán in the north. Wrapped in rice paper and deep-fried, these little parcels are filled with cellophane noodles, seasoned ground meat, crunchy vegetables and fresh aromatics.
Chả Giò is considered as one of the national dishes of Vietnam. You can easily find them — from small gatherings like hangouts and restaurants, to large festivities like lunar new year celebrations and weddings!

Origin of Chả Giò
Vietnam’s long and expansive border made itself vulnerable to waves of countries coming to colonize the area. With every invasion, different aspects of Vietnam were influenced, from religion to government to cuisine to everyday life. There isn’t much written history about chả giò, it is possible they were influenced by Chinese spring rolls, having been under the rule of China for several centuries. There is also a theory that they were made for royalty which is why it often gets mistakenly called “imperial roll”.
Chả Giò Is Not Egg Rolls!
Although it goes by two different names between north and south, for ease of reading, we are sticking to the southern name “chả giò” used in Saigon, which is where it originated. In the Vietnamese diaspora, there are many names for it like egg rolls and imperial rolls, but none of them are quite accurate. While, the accurate translation of chả giò is “pork/sausage roll”, the translation of nem rán, which is fried spring rolls is probably the most correct way to describe it. Also, a lot of you may be wondering the pronunciation of it so here is what I learned from my Vietnamese friends — “chah yaw” by the southerners and “chah zaw” by the northerners.
Chả giò often gets compared to Chinese egg rolls, but the only thing they have in common is that they are cylindrical in shape and deep fried. It is a very different dish with a lot of unique characteristics — wrapped in rice paper, as small as a sausage and a lot crispier. All the confusion between the two may have stemmed from immigrants and restaurants outside Vietnam, who were forced to adopt the flour based egg roll/lumpia wrappers that were easily available with a long-lasting crisp quality — but doing so the authentic flavor is lost.
Frying Tips
— as in how to avoid explosions and how to get super crispy and crumbly spring rolls.
It is very important you read these guidelines before you attempt this recipe. I speak from experience when I tell you the first time I made chả giò about 5 years ago, it was an explosive disaster. Damp rice paper and boiling hot oil is no bueno.
Use rice paper — it may seem tempting to use the egg roll wrappers, but to maintain authenticity and because it tastes much better, you must stick to rice paper.
Choose the right type of rice paper — look for rice papers that have both rice flour and tapioca starch, which makes it thin and brittle, and also easier to manipulate and fold.
Add sugar to soaking liquid — adding sugar to the water used to soften the rice paper will go a long way, making it easier to get a caramel golden coloring and a crisp texture upon frying.
Remove moisture from the filling — be conscious when preparing the filling to remove as much water as possible, for example wringing the vermicelli in a dish towel, straining the ground chicken and ground shrimp to get rid of excess moisture, drying off the vegetables with paper towel and so on.
Use a dish towel and/or wooden board — once the rice paper has been soaked, place it on top of a dish towel or a wooden board (or both), which will soak up the excess moisture from the wet rice paper.
Remove excess air when rolling — this part involves working quickly to roll the rice paper. Using just enough time to shape the filling into a compact sausage shape and rolling the rice paper tightly before it gets too pliable.
Refrigerate before frying — cold air holds less moisture than warm air and when air becomes drier liquid water can evaporate more easily. Placing the damp rice paper rolls in the fridge, the cooling mechanism and the dry environment will remove the water vapour.
Fry in low oil temperature — gentle frying for the first fry will help the spring roll to stay intact, slowly cook inside, whereas a high oil temperature can cause them to burst open and scorch.
Double fry — frying it twice helps give it a crispier texture. Chả giò tends to soften once they have cooled down, by frying it second time at a high temperature ensures they turn crispy and crumbly.
Recipe — Chả Giò | Nem Rán
Vietnamese Fried Spring Rolls
Serves: 10–12
Before starting the recipe, make sure to scroll up and read the frying tips section. I say this with utmost sincerity because you want to avoid any explosion during frying, and you want to have a super crispy spring rolls that won’t get soggy or fall apart once cooled.
Making the Filling
Mung Bean Vermicelli Noodles - 1 bundle (1.5 oz)
Ground Chicken - 1 lbs
Shrimp - 1/2 lbs, minced
Carrots - 1/4 cup, shredded
Wood Ear Mushroom - 1/4 cup, thinly sliced
Shallots - 1/4 cup, minced
Scallion - 3, white parts only, minced
Garlic Cloves - 2-3, minced
Egg - 1
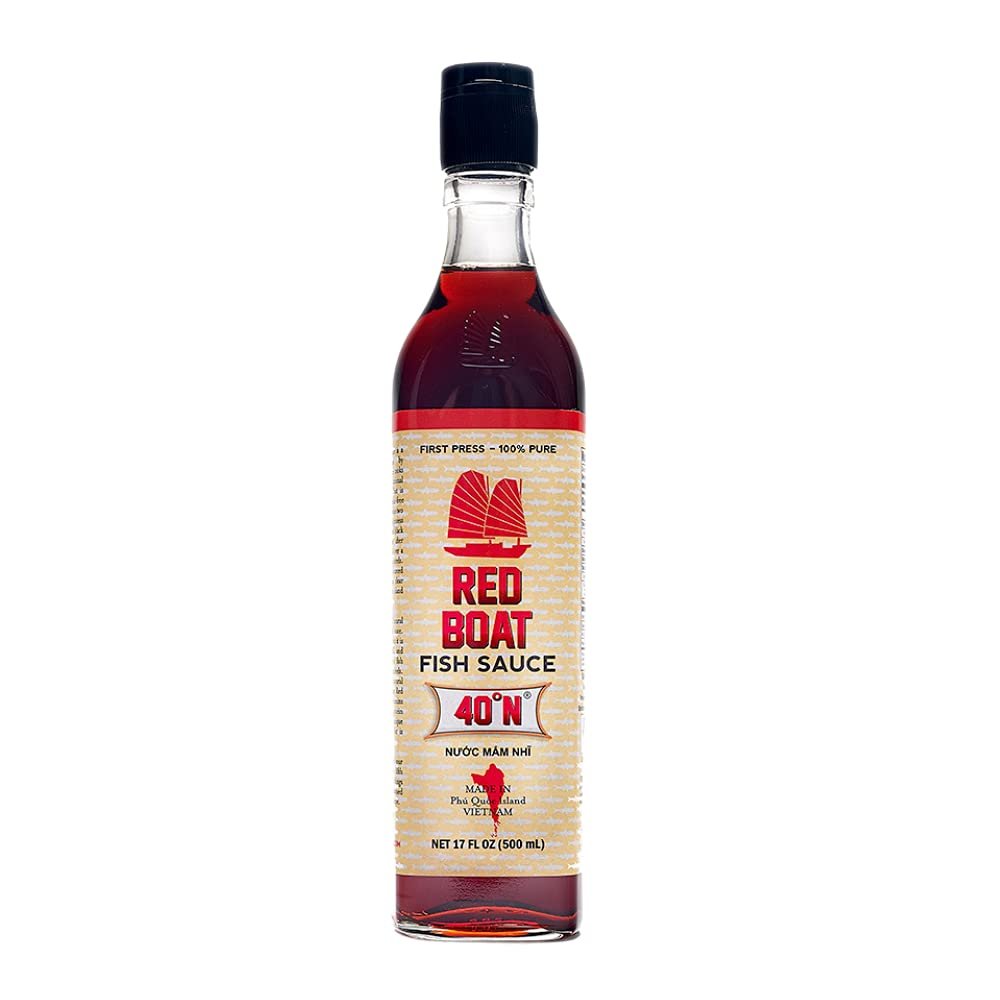
Fish Sauce - 2 tbsp
White Pepper - 1 tsp
Salt - 1/2 tsp
Sugar - 1 tsp
Prepare the ingredients
Mung Bean Vermicelli Noodles — Follow the package directions. I like to soak the noodles in hot water for 2 minutes. Then strain and soak in ice cold water for 2 minutes to stop the cooking process. Strain the noodles again and use a tea towel to squeeze out excess moisture. Using a scissor, cut the noodles into 2-4 inches in lengths.
Wood Ear Mushrooms/Black Fungus — Soak them in a bowl with hot water for 15 minutes, with the lid covered. Remove the center which feels tough and non-pliable. Then thinly slice them, keep same length as the noodles, about 2-4 inches.
Shrimp — Make sure the shrimp is peeled and deveined, then fine dice or mince, same texture as the ground chicken
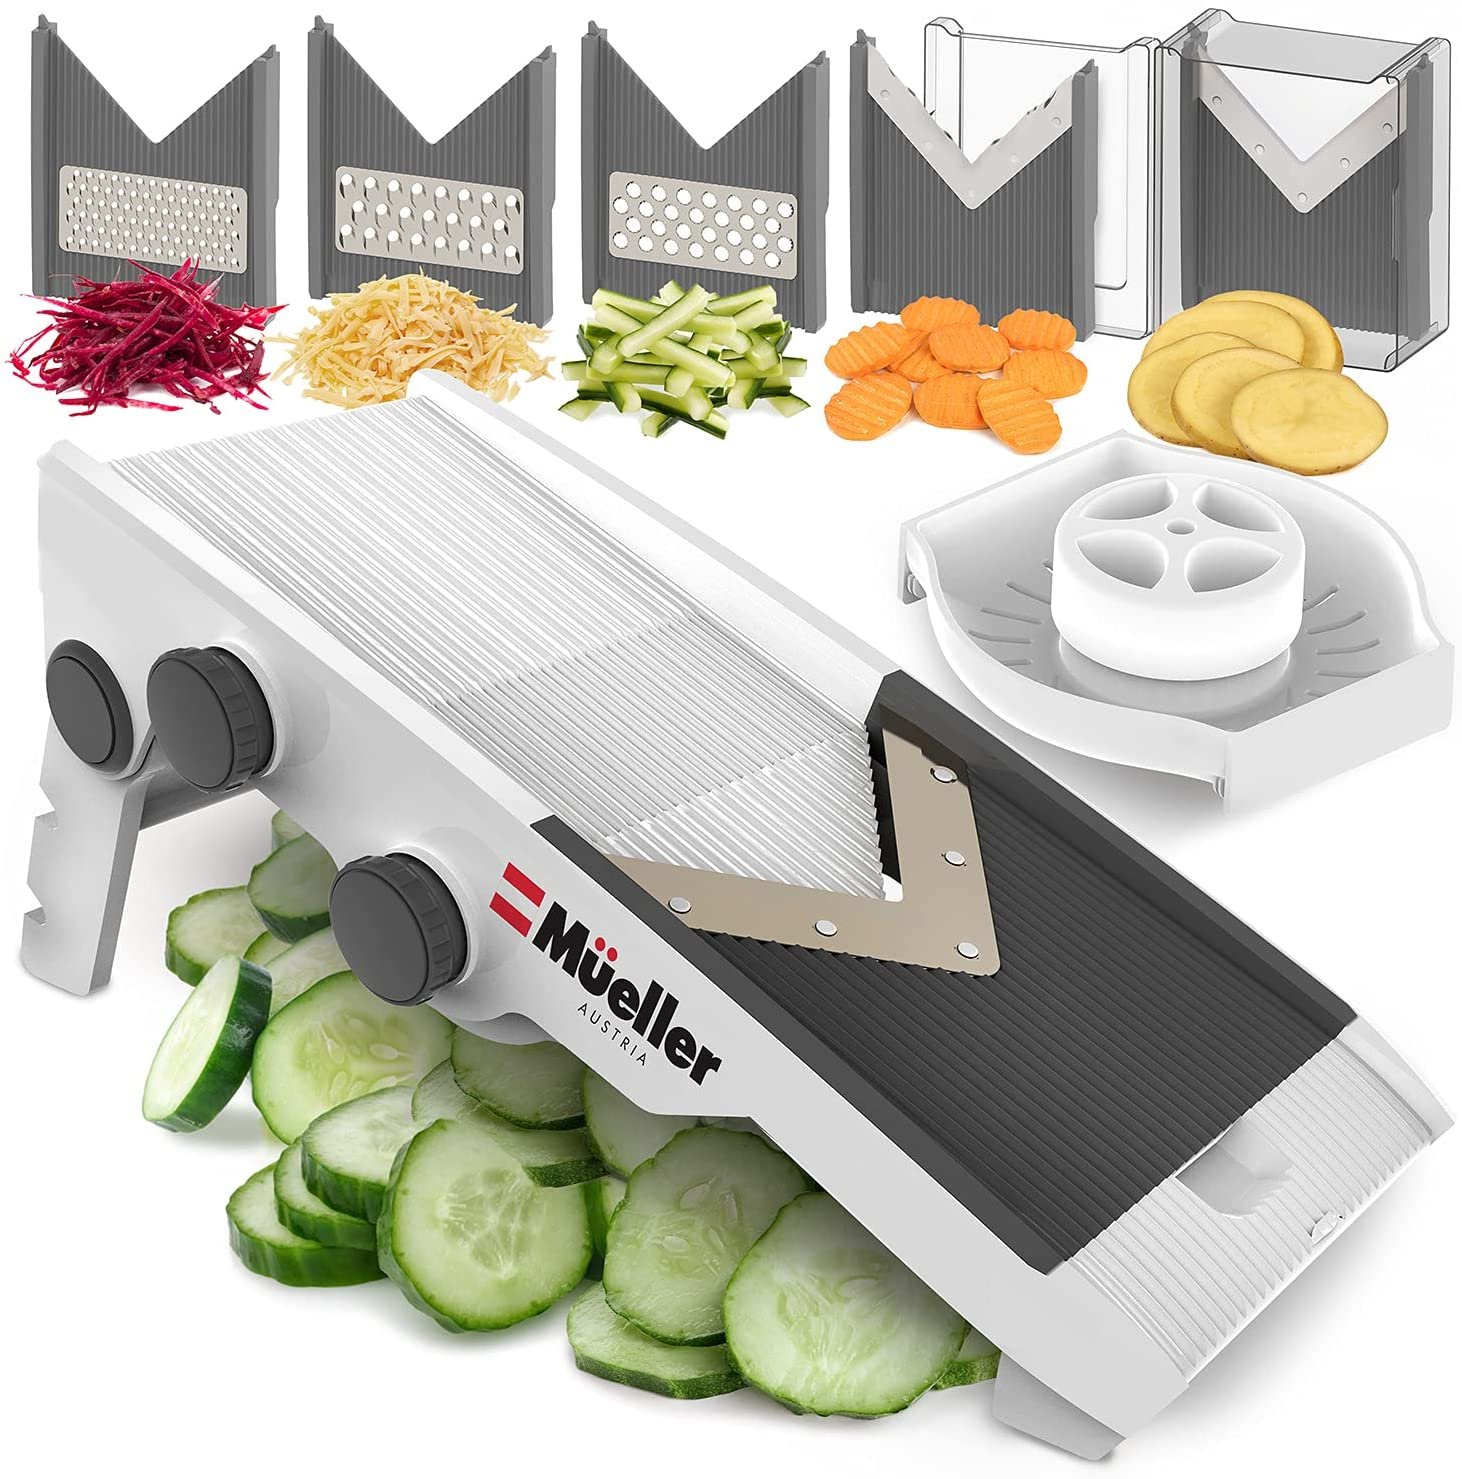
Carrots — Using a mandolin slicer, shred the carrots into julienne shape, like thin matchsticks.
Aromatics — Mince the shallots, scallion and garlic cloves.
Make the filling — in a large bowl, whisk in the egg, fish sauce, white pepper, salt, and sugar. Add the noodles, ground chicken, shrimp, mushrooms, carrots, shallots, scallion and garlic. Stir well to combine using a fork or your hands, breaking up all the small chunks as you mix. It should be mixed until the filling is homogenous. The filling can be stored and refrigerated, in a sealed tight bowl up to 1 day in advance.
Making the Spring Rolls
Rice Paper - 20-24
Warm Water - 6 cups
Sugar - 3 tbsp
Prepare the soaking water for the rice paper — in a wide shallow baking dish or an extra large mixing bowl, add the warm water and sugar. Whisk the sugar until it is completely dissolved. If there isn’t enough water for the rice paper to be fully immersed in, then add more.
Prepare a work station with a wooden cutting board (bigger than the rice paper) and/or a large dish towel which will absorb the excess water.
I personally prefer the wooden cutting board (as you can see in the video), because I find sometimes with the dish towel underneath, its hard to roll the sticky rice paper.
Slide the rice paper in the water, holding it in for 5 seconds. Remove it from the water and let it sit on the board for about a minute to soften.
I like to use this time to scoop up the filling on top of the rice paper and shaping it to the size and length I want for the spring rolls.
This is how I do it — center 2 heaping tablespoons of filling on the lower third of the rice paper. Use your fingers to shape the filling into the size and length of a small sausage.
Folding the spring roll — lift the bottom edge of the rice paper over the filling. Tuck in the filling, pressing out any excess air from the front and from two sides. Fold over the two sides. Then roll from the bottom up to finish folding. The damp rice paper will seal itself.
In a large baking sheet, store the spring rolls but make sure to leave a gap between each spring roll so they don’t stick to each other.
Once done rolling all the spring rolls, place it in the fridge for 30 mins to 1 hour, for the excess moisture to evaporate.
Use this time to prepare the garnish, pickled vegetable and the sweet and salty fish sauce.

Frying the Spring Rolls
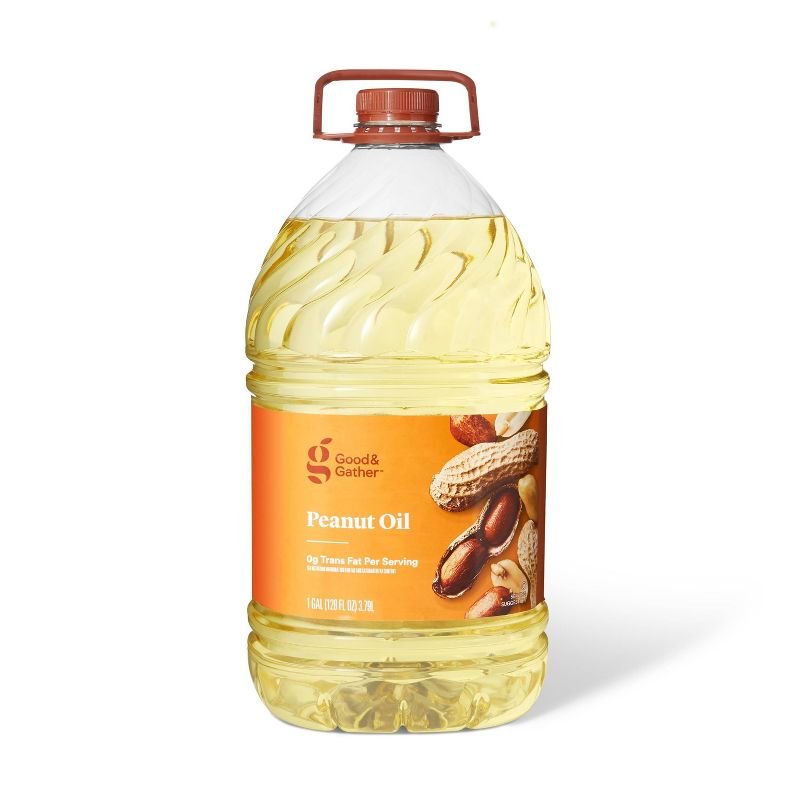
Peanut Oil — for deep frying
First Fry
Use a 5 quart or bigger Dutch oven, heat the peanut oil over medium-high heat until it reaches 325 F (use a candy thermometer).
Place the spring rolls seam side down, only 2-4 at a time, depending on how wide the Dutch oven is. Try not to crowd them, there should be enough space between each spring rolls, so they don’t stick to each other while frying.
Use a long tong to flip the spring rolls over to the other side, once this side looks cooked. Also, once in a while, the spring rolls may form a huge bubble or two while frying. I keep a long wooden skewer or chopstick handy to burst the bubbles.
If the oil reaches a higher temperature than 325 F, lower the heat to medium or medium-low. Continue frying for 5 to 10 minutes, until the spring roll is light yellow-golden in color.
Use a long tong to remove the spring rolls from oil. Place them on a paper towel lined large platter, so the excess oil can be absorbed. Then transfer them on top of a baking sheet with a wire rack to cool.
Allow the spring rolls to rest at room temperature for at least 1 hour, or cover and rest in the fridge overnight.
If you are planning on doing the second fry within the hour, leave the oil in the Dutch oven, covered of course. If you plan on frying the next day, strain the oil using a mesh strainer. Store it in a temperature-safe mason jar and store in the fridge so the oil doesn’t turn rancid overnight.
Note: If you are making a large batch of cha gio, the first fry can be done one day ahead and the spring rolls can be stored in the fridge overnight. You can also freeze the spring rolls up to a month, defrost and fry a few at a time, for snacks or meals as needed.
Second Fry
The next day or an hour later...
In the same Dutch oven, reheat the oil over medium-high and bring it up to 400 F.
Carefully place the spring rolls in batches, fry 4-6 at a time, depending on how wide the Dutch oven is.
Flip the spring rolls occasionally, while adjusting the heat to maintain a temperature of 375 F — 400 F.
Fry until they are golden brown and crisp, about 3-5 minutes. Keep in mind, the residual heat will continue to cook the spring rolls and and turn them darker once they have been removed from the oil.
Use a long tong to remove the spring rolls from oil. Place them on a paper towel lined large platter, so the excess oil can be absorbed. Then transfer them on top of a baking sheet with a wire rack to cool for couple minutes, so they are easy to handle.

Nước Chấm | Dipping Sauce
Sugar - 1 tbsp
Fresh Lime Juice - 1 whole lime
Garlic Clove - 1, minced
Bird’s Eye Chiles or Small Serrano Chiles - 1-2 tsp, minced
Fish Sauce - 2 tbsp
Rice Vinegar - 1 tsp
Combine all the ingredients in a mixing bowl, then store it in an airtight jar. The chili garlic sauce can last in the fridge up to 4 weeks.
Đồ Chua | Pickled Vegetable
Water - 1/4 cup
Sea Salt - 1/2 tsp (you can use regular salt too)
Sugar - 2 tbsp
White Vinegar - 1/2 cup
Carrots - 1/2 cup, julienned, 4 inches in length
Daikon Radish - 1/2 cup, julienned, 4 inches in length
Combine all the above ingredients in a mixing bowl, then store in an airtight jar. These Vietnamese style pickled vegetables can last up to 4 weeks in the fridge.

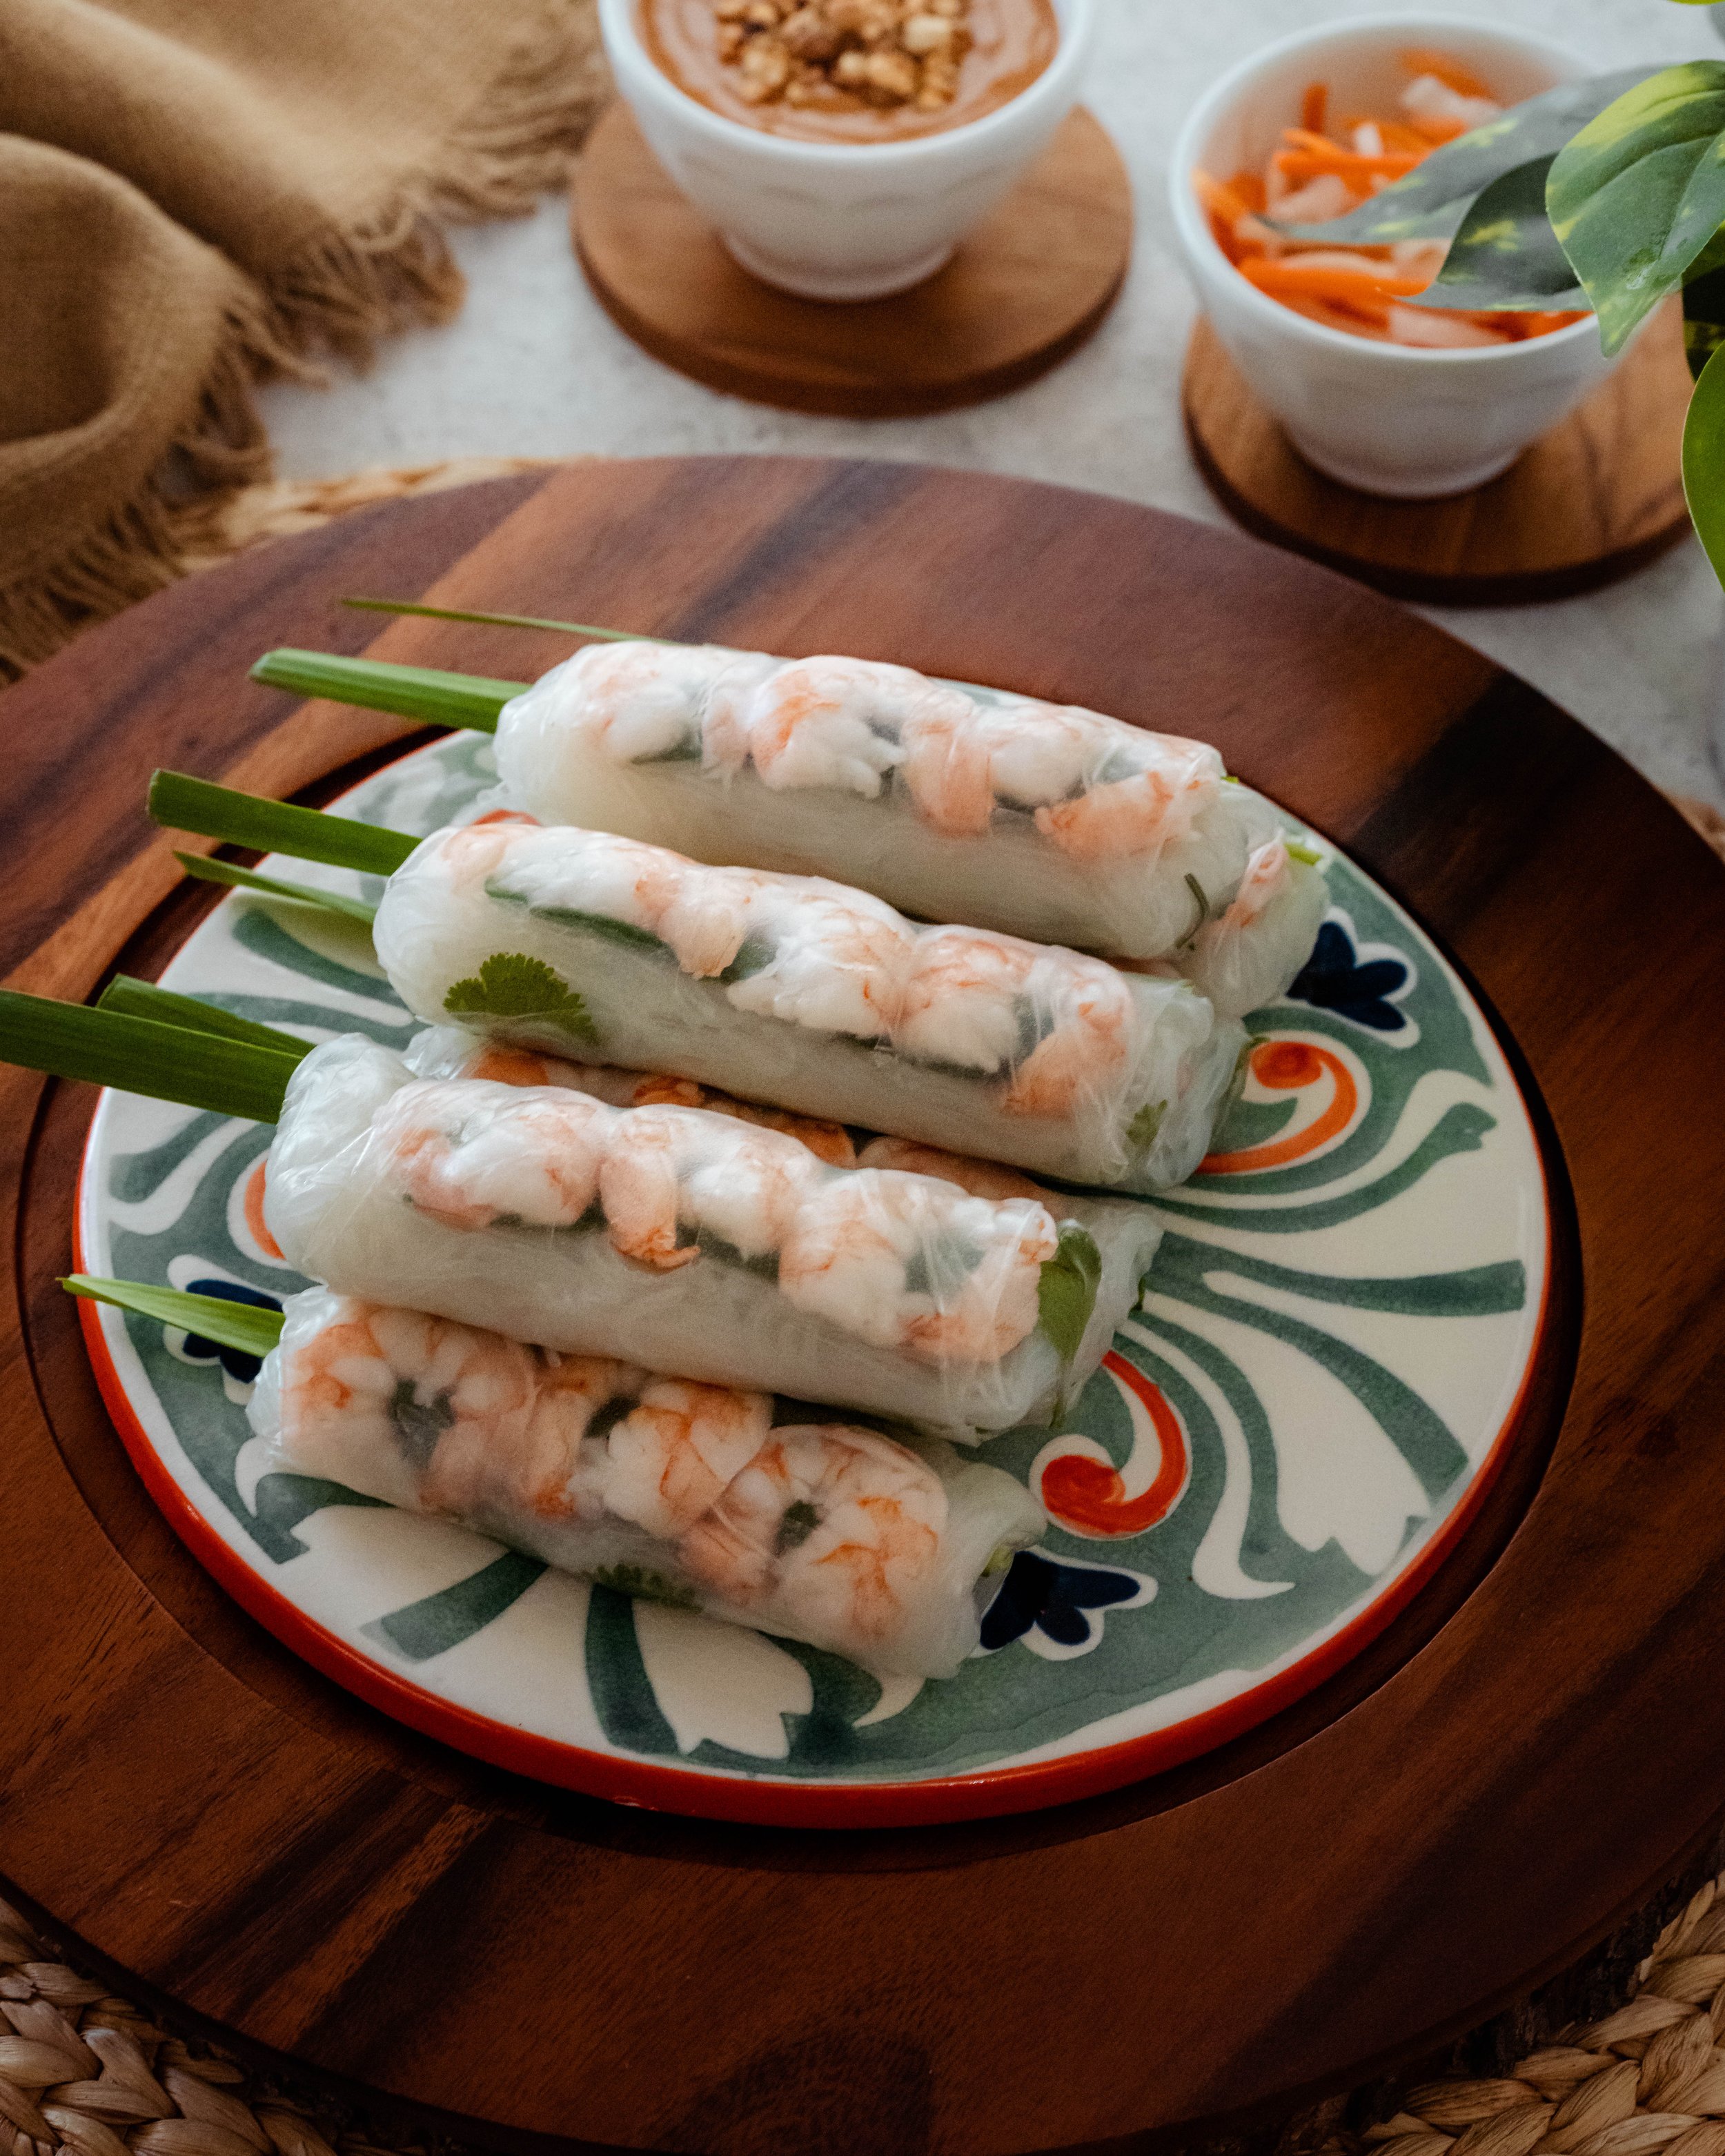
How to Serve + Eat
I know we are tempted but I highly recommend not eating the spring rolls just as is. The addition of fresh herbs and vegetables make this dish much more wholesome — you will not know what I am talking about until you have tried it yourself. My go to garnishes are soft lettuce like red leaf or butter lettuce, perilla/shiso leaves, mint leaves, cilantro leaves, thinly sliced cucumbers etc. And of course, you must have the đồ chua (pickled carrots and radishes) and the nước chấm (sweet and salty fish sauce for dipping) ready on the side.
Soft Lettuce Leaves — red leaf or butter
Herbs — any combination of perilla/shiso, mint, cilantro
Persian or Kirby Cucumbers — thinly sliced (optional)
Đồ Chua
Nước Chấm
Prepare a large platter of garnishes — lettuce plus any combination of 1 or 2 of the herbs mentioned above.
Use scissors to cut each roll in half and place them in a large platter with the garnishes or next to them.
Put the pickled vegetable and dipping sauce in two separate bowls with small serving spoons.
To eat, place a piece of the spring roll on the lettuce and herbs, add couple pieces of the pickled carrots and daikon.
Then wrap it tight and dip into the sauce or spoon in the sauce on top.
Place the whole thing in your mouth and wait for the magic to happen. Its scrumptious!
SHOP THIS POST


If you recreate our recipe
TAG & FOLLOW @TheSpiceOdyssey
Stay up to date with us on on Instagram, Pinterest, Youtube and Facebook.